How to make custom patches in 5 simple steps
February 6, 2026 | by deven.khatri@gmail.com
Not sure if your design is ready? Use our design file templates found on the embroidered patches Catalog page for extra peace of mind.
Pro tip: Learn more about perfecting your custom embroidery patches and check examples with the most common issues in our embroidery file guide.
3. Create custom patch designs
Now that you’ve nailed your style and audience, it’s time to move from idea to reality. Creating patches starts with three core decisions: the background color, outline color, and shape.
Printful lets you customize patches on either a black or white background and pick from five shapes:
-
Rectangle
-
Heart
-
Square
-
Oval
-
Circle
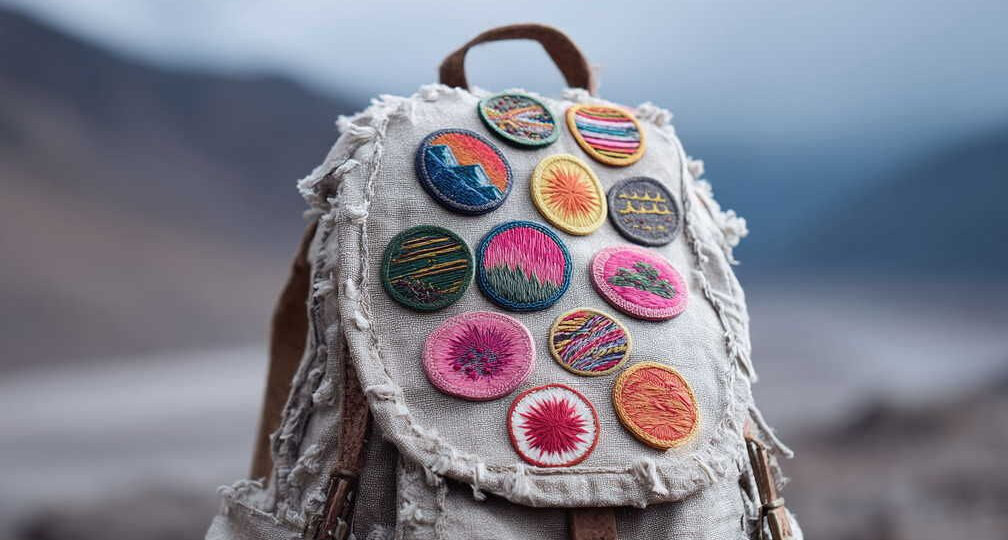
Each shape has its own size, so think carefully about where your patch will go. Smaller patches work best for caps or sleeves, while larger ones pop on jackets and bags.
When you’re ready to start, open your favorite design tool – Canva, Photoshop, or go straight to Printful’s Design Maker, which is loaded with free designs, graphics, clipart, and text options by our design team.
If you create your artwork elsewhere, save it as a vector file for the cleanest results.
Once you upload to our Design Maker, your file goes through a one-time digitization process (for a small one-time fee) so our embroidery machines can translate your design perfectly.
Tips for a standout custom patch:
-
Keep your patch design simple – Bold lines and clear shapes work best, especially at smaller sizes.
-
Choose colors that fit your style – Either classic, minimal, or bright and eye-catching.
-
Think about where your patch will be used – Create a few size variations if you want one design on different products.
-
Preview your patch in the Design Maker and don’t hesitate to tweak until you’re happy.
-
Get a sample before you list them in your online shop or order patches for your team, especially if you’re testing new designs or this is your first time.
Quick tip: Sampling is great for inspecting the quality and embroidery coverage, but it also lets you take your own pictures, instead of relying solely on mockups. Besides, what might look good on paper might not be so cute in person.
A well-designed patch at this stage means less back-and-forth later.
Read more: Step-by-step guide to embroidery designs
4. Order or publish your custom embroidered patches
Your design is ready. Now it’s time to put your embroidered custom patches into production.
Printful offers full flexibility, whether you need a single patch for a personal project, samples to test for your shop, or a larger batch of high-quality custom patches for retail or events.
There’s no minimum order quantity, so you decide what fits your goals.
-
Order directly in our Design Maker, or save your templates and come back when you’re ready.
-
For groups, events, or bulk sales, enjoy bulk order discounts. Order 25 or more custom patches to get up to 13% off, and every design file in that order will be digitized for free.
-
Mix your patches with other products in a single shipment to streamline your workflow.
-
Shipping is fast. Delivery to the US takes just 5–7 business days.
-
Testing the waters? Start with a discounted sample – Printful gives you 20% off your first order, so you can check the quality before launching your collection.
-
Sending gifts or fulfilling special requests? Ship your patches anywhere in the world.
-
Ready to sell? Connect your online store. Printful integrates with most of the major platforms and marketplaces, so you can automate fulfillment and focus on growing your business.
Once you’re satisfied with your sample, reorder or scale up. With bulk discounts, fast and reliable production time, and zero minimums, Printful puts you in control – whether you’re launching a brand, personalizing team gear, or creating one-of-a-kind gifts.
Read more: How to start an online store
5. How to attach and care for your custom patches
When your embroidered custom patches arrive, the right application ensures they hold up – whether on hats, jackets, or bags. Every Printful patch comes with an iron-on backing by default, but you can sew it on or use a safety pin instead.
Iron-on method
Choose a sturdy fabric like denim or cotton. Lay the item flat, preheat the area with an iron or heat press on the highest safe setting, then position the custom patch adhesive-side down.
Cover it with a thin cloth, press for 25 seconds on each side, and let it cool completely. For best results, avoid moving or washing for 48 hours to let the adhesive fully set.
If edges lift, repeat the process or sew around the border.
Sew-on method
Attach with a needle and thread or a sewing machine. A zigzag stitch along the edge gives extra strength, ideal for daily wear or hats.
Temporary fix
Use a safety pin to attach your patch if you need easy removal.
Quick tips:
Wash items with patches as little as possible. If you must wash, hand-wash in cold water.
For maximum durability, especially on high-contact items, sewing is the best method.
To create a removable patch, add a velcro backing yourself, so you can peel and reapply whenever you want.
With the right care, your custom patches will stay sharp and secure, wear after wear.
Alternative ways to create custom patches
If you want to create custom patches beyond classic embroidery, there are several creative options to match your materials, artwork, and style.
These methods let you experiment with patch design ideas, personalize your own design, and use different backing options for unique results.
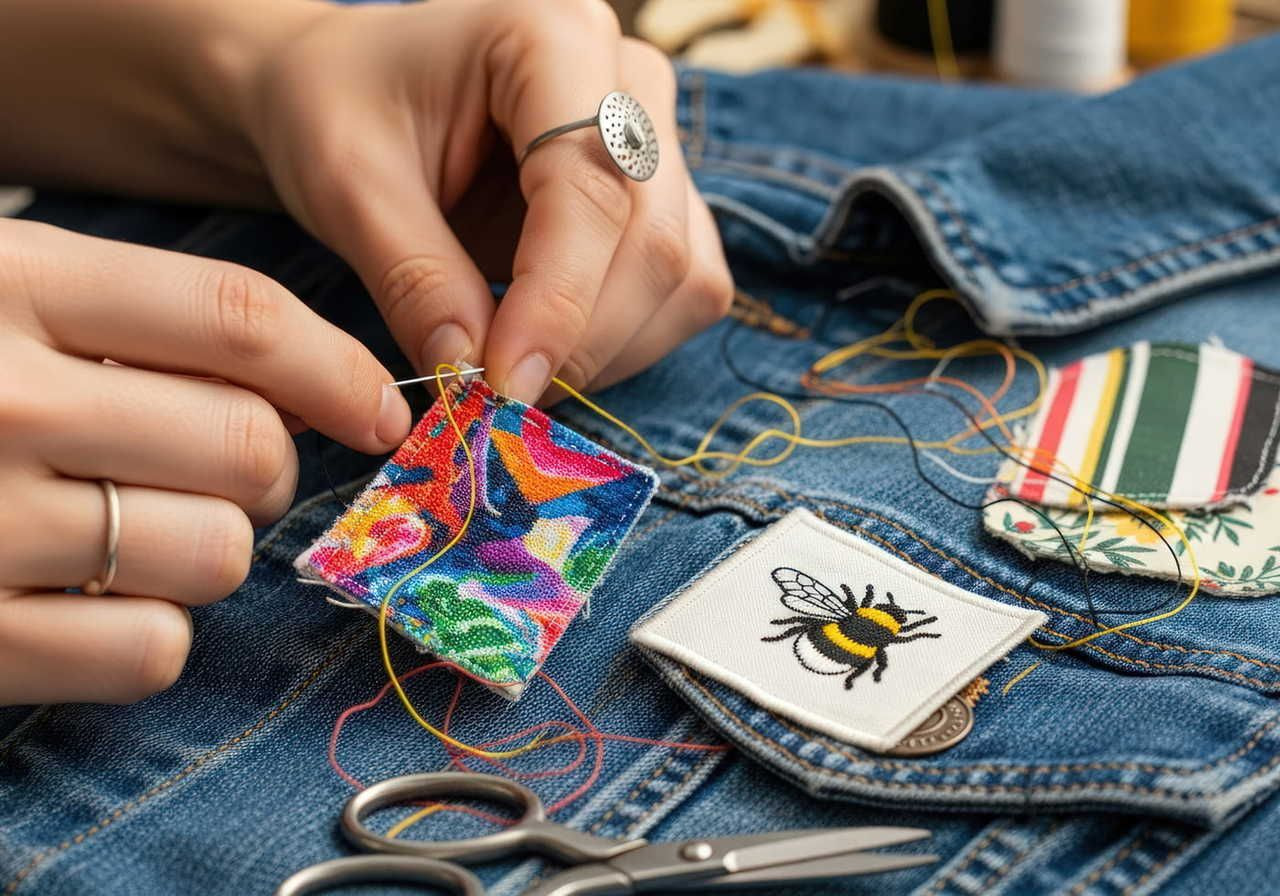
Hand embroidery
For one-of-a-kind DIY patches, hand embroidery gives you total control. Use a hoop, needle, and thread to stitch your artwork onto fabric. This technique lets you adjust every detail, from color to texture, and works well for small runs or special projects.
Appliqué
Appliqué involves sewing fabric shapes onto a base to build your patch design. You can use different materials, from cotton to felt to leather patches, layering each for depth and color. Secure with a machine stitch or by hand, then finish with your preferred backing options.
Fabric paint
If you prefer a no-sew method, fabric paint offers endless possibilities. Paint your own design directly onto sturdy fabric, then cut it out to make DIY patches. This works for bold graphics, custom text, or when you want the best custom patches with a fast turnaround time.
Other custom patch types include chenille patches for a varsity look, or using patches as other accessories – think keychains or bag tags. With the right method and materials, you can create your own custom patches for any need.
Design custom patches online with Printful

Printful makes it easy to create and order custom embroidered patches with your own artwork. Select the shape, use your free design tools to upload your files, and get your perfect patch – no minimum order required.
Use the embroidered patches on other accessories like hats or bags, or as standout details on clothing.
Every patch is finished with a professional stitch and an iron-on backing, ensuring quality with every order. Start designing today and bring your creative vision to life!
RELATED POSTS
View all

Hobbies that make money: 19 Fun ways to earn in 2025
August 9, 2025 | by deven.khatri@gmail.com

Print-on-demand statistics in 2026: Market data + insights
January 14, 2026 | by deven.khatri@gmail.com
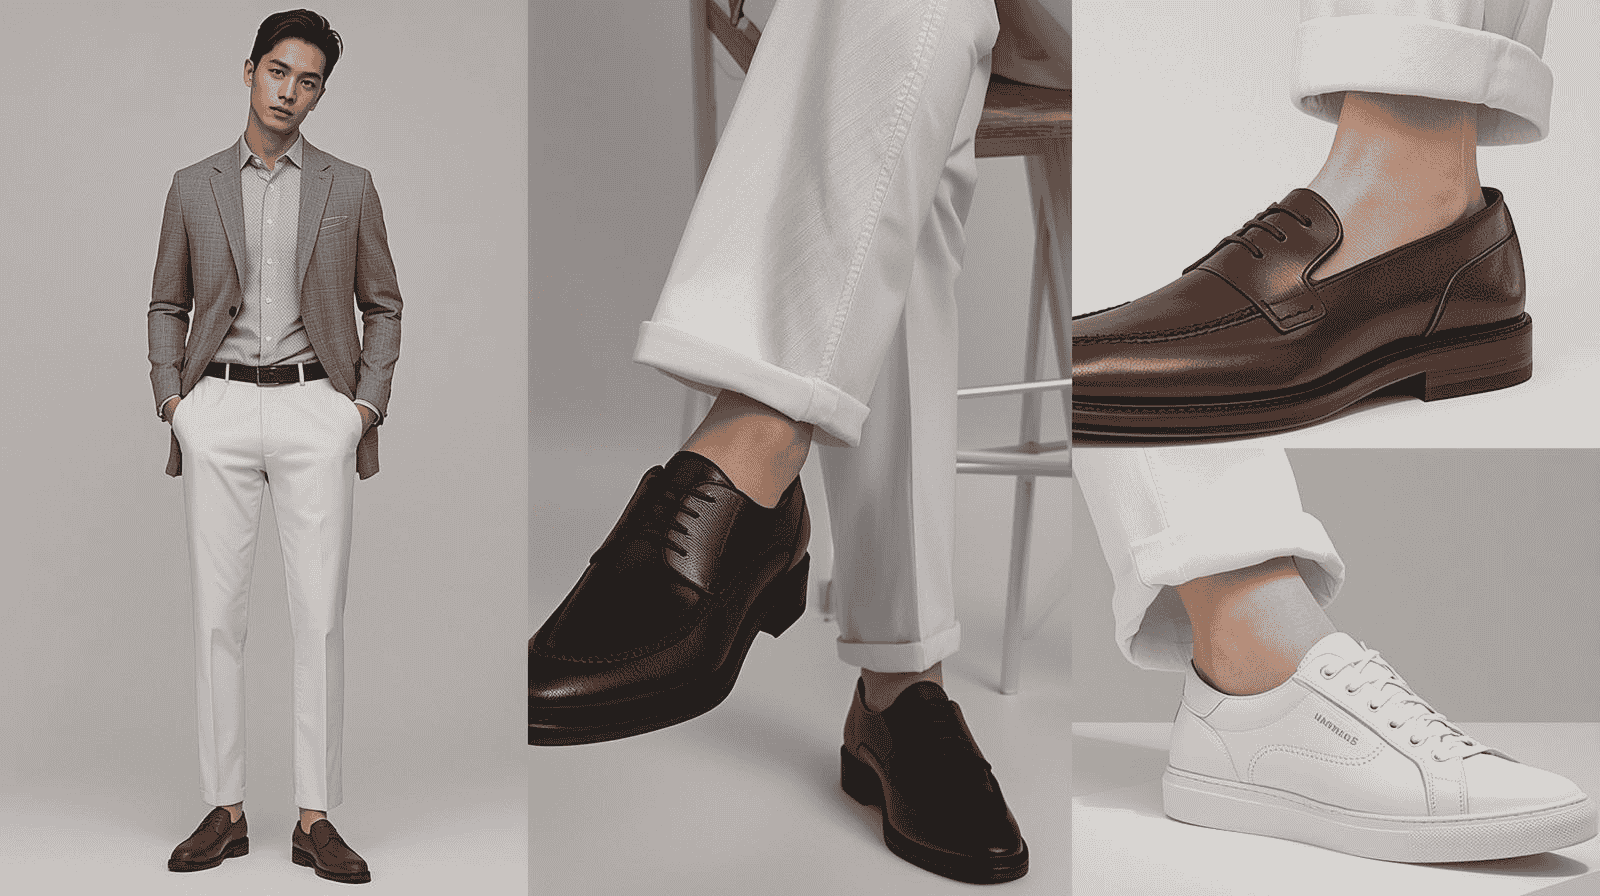
10 Best White Pant Shoes Combination For Men 2026
January 6, 2026 | by deven.khatri@gmail.com